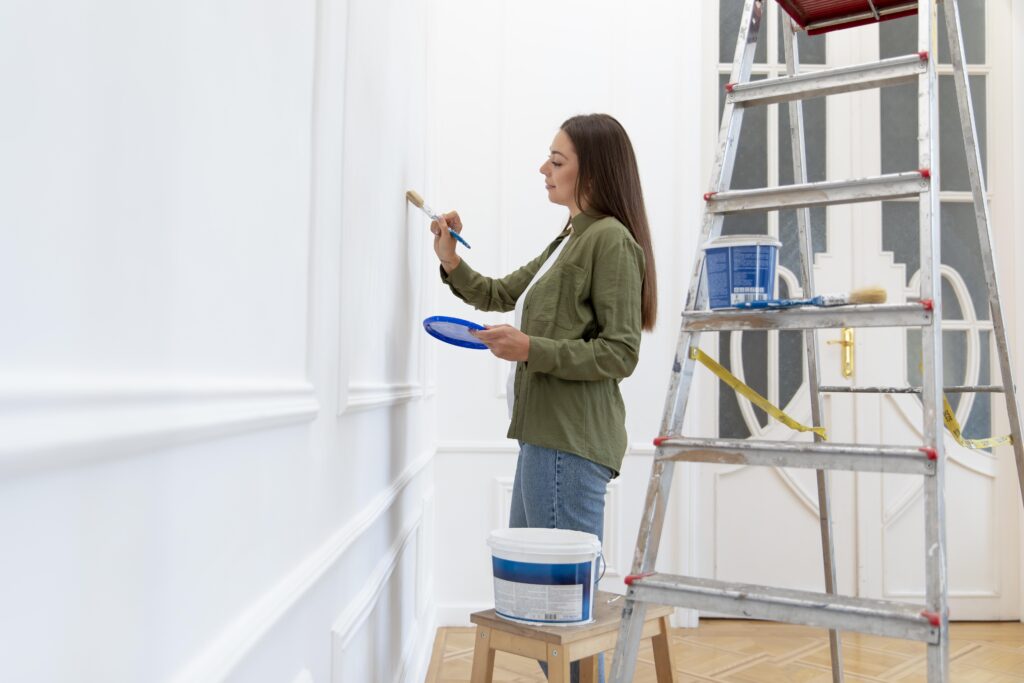
A fresh coat of interior paint can totally change a room’s look. It makes the space bright and inviting. To get that professional finish, you need good prep, quality paint, and the right approach. Dekro Paints tells us preparing well and using the best tools are key to a great look. Here, we’ll share tips on how to start painting and make your space stunning.
The Importance of Surface Preparation
A flawless paint job begins with careful surface preparation. This step ensures good paint adhesion and a smooth finish. Without it, even pricey paints can look poor.
Cleaning and Patching
The first step is cleaning the walls well for painting. Dust and oil can block paint, so removing these is key. Then, fix any wall flaws by patching. Fill holes and cracks with spackle and smooth them out.
Sanding Techniques
After cleaning and patching, sand the walls. Sanding creates a smooth surface for painting. It helps get a uniform finish and strong paint stickiness.
Using a Primer
The last prep step is applying a primer. A primer makes the surface ready, improves paint stickiness, and needs less paint. It’s vital for big color changes or painting in damp areas, say Dekro Paints and Timmins Painting.
Choosing High-Quality Paint and Tools
Choosing the right paint and tools for indoor painting is key. Starting with good materials ensures a pro finish.
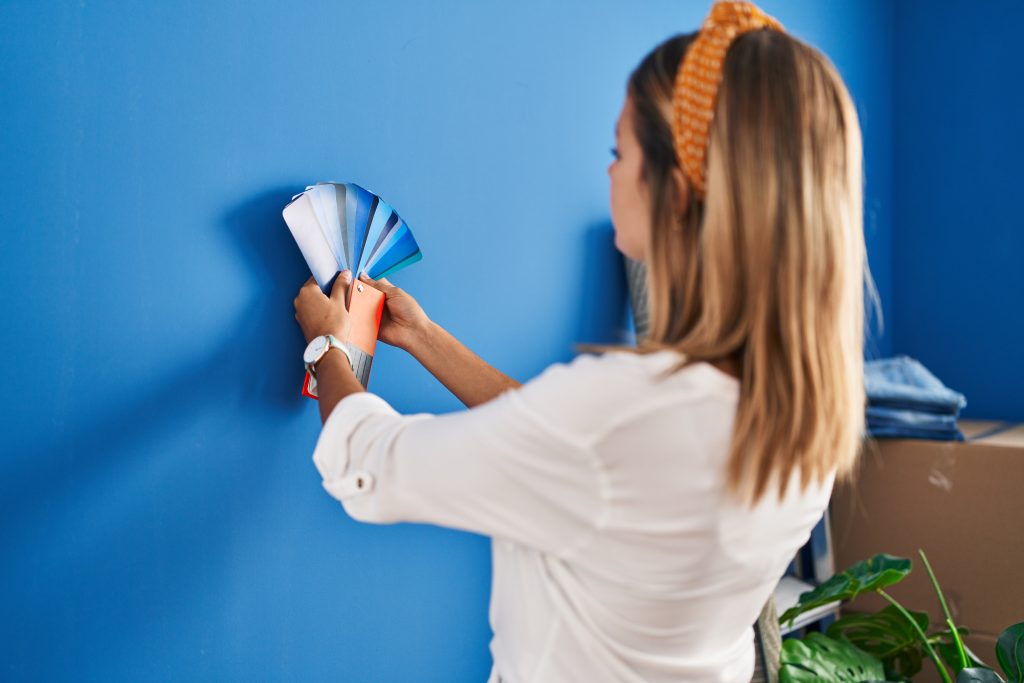
Selecting the Right Paint
It’s crucial to know what paint you need. Top-notch paint sticks better, covers more, and lasts long. Whether shiny or flat, picking the correct paint for your space matters. Brands like Dekro Paints are trusted for their quality and results, perfect for any paint job.
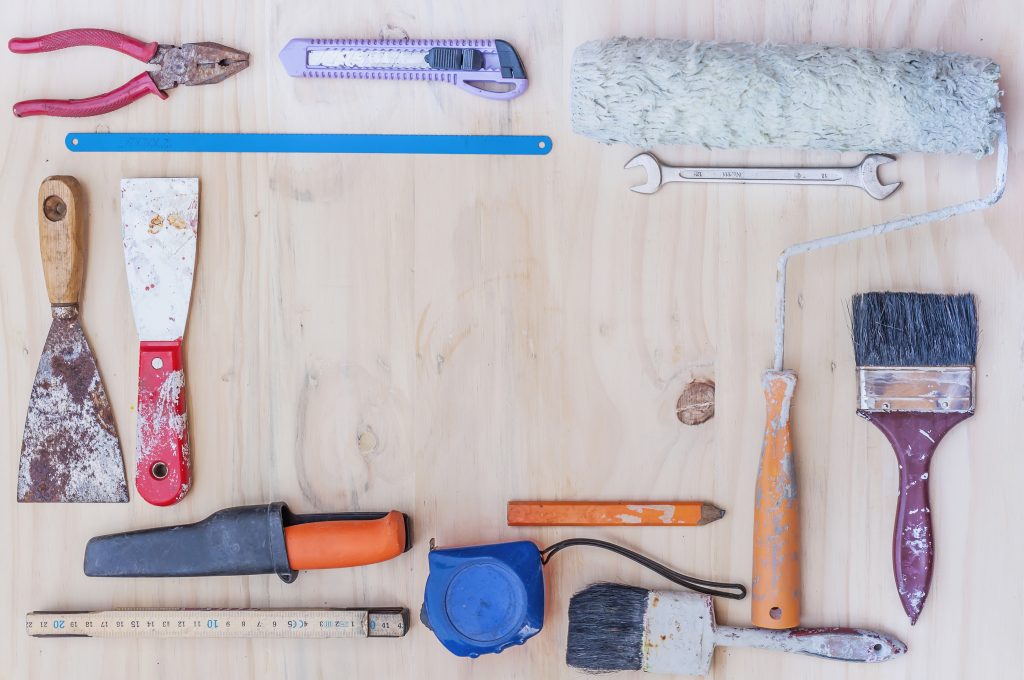
Essential Painting Tools
You’ll need pro-level brushes and rollers. Good brushes won’t lose hairs, and top rollers give a smooth coat. Timmins Painting recommends using the best tools for easier painting and spotless outcomes.
Why Quality Matters
High-end paint supplies may cost more at first, but they lead to a better look and last longer. Quality paint and tools make painting easier and ensure your walls impress for years.
Step-by-Step Interior Painting Tips
Starting an interior painting project can be exciting and save you money if done correctly. This guide will help you achieve results that look like a pro did them.
- Gather Your Supplies: Before you begin, gather everything you’ll need. This includes paint, brushes, rollers, painter’s tape, drop cloths, and a ladder.
- Prepare the Space: Get the room ready. Move furniture out or cover it up. Put painter’s tape on trim and places you don’t want paint on.
- Fix Imperfections: Look over the walls for any holes or cracks. Fill them and sand them smooth. This makes sure the paint sticks well and looks smooth.
- Prime the Walls: Use a primer first to even out the surface. This is key if you’re painting over dark colors or on new drywall.
- Mix Your Paint: Mix the paint well to ensure the color is consistent. Pour it into a paint tray to make using it easier.
- Start with Cutting In: Begin painting by “cutting in” around the edges near the ceiling and baseboards. It helps in painting those areas more accurately.
- Roll the Walls: Use a roller for the big parts of the wall. Roll the paint on in a ‘W’ pattern for even coverage. Always keep a wet edge to prevent lines.
- Apply Multiple Coats: You might need more than one layer of paint for complete coverage. Let each coat dry as the paint’s instructions suggest.
- Final Touches: Check corners and edges for any spots you missed. Touch them up to make sure everything looks perfect.
- Clean Up: Take off the painter’s tape before the paint dries fully. This helps avoid peeling. Wash your brushes and rollers to use them again later.
Follow these tips for interior painting to get amazing results on your DIY project. Learning how to paint inside your home can really change how it looks. With these steps, you can do it with confidence and skill.
Expert Techniques for a Flawless Finish
To get a perfect paint finish, you need more than just good paint and tools. You also need the right techniques used by professional painters. Using these methods can make your painting look beautiful and stay great for a long time.
Painters’ Tips for Brush Application
For brush application, being precise matters a lot. Only dip a third of the brush into the paint to avoid drips and uneven spots. Use tapering strokes for a neat application, ensuring the edges blend well. These tips will help your painting look consistent and professional.
How to Use a Roller Properly
Using a roller right can make a big difference. Start with the right amount of paint on the roller. Avoid too much or too little. Paint in a ‘W’ shape to spread the paint evenly, then use straight lines to fill the gaps. This way, you get a smooth, even layer for a flawless paint finish.
Avoiding Common Mistakes
To avoid painting mistakes, remember some important tips. Don’t work the paint too much; it can lead to streaks. Keep your paint edge wet to avoid marks. And tape off areas you don’t want painted. These expert techniques will help you dodge mistakes and get a pro-looking finish every time.
The Role of Lighting in Painting
Lighting is vital when painting. It affects color appearance and painting accuracy. Both sunlight and man-made light have key roles.
Importance of Natural Light
Natural light shows true paint colors. It lets you see real hues and tones, for even paint application. Sunlight also makes it easier to spot and fix mistakes quickly.
Paint during the day to use sunlight best. Setting up near windows helps get the ideal light.
Using Artificial Lighting
In dim areas, artificial light is a must. Choose bright, white lights, like LEDs, that mimic daylight. LEDs provide steady lighting and don’t heat up your paint.
Place your lights carefully to avoid shadows. Mixing different lights can give your work uniform brightness. For night painting or in dark rooms, artificial lights are essential for a perfect finish.
Mixing sunlight and artificial light creates the best setting for painting. Follow these lighting tips to get professional results every time.
Handling Paint in Different Weather Conditions
Weather greatly affects how paint dries. Knowing how to paint in various climates gets you the best finish.
Painting in Humid Weather
In humid weather, pick moisture-resistant paints. Humidity can make paint dry slowly. This can cause bubbling or uneven layers.
Make sure the area is airy. Use a dehumidifier if you need to. Try painting in the early morning or late afternoon, when it’s less humid.
Cold Weather Painting Tips
Cold weather makes painting tough. Paint can get thick and not stick well in low temperatures. Use paints made for the cold to stick and dry right.
Avoid painting when it’s damp or windy. These conditions mess up painting. Always check the paint can for the right temperature to paint in.
Knowing these tips helps you paint well in any weather. Adjust how you paint depending on the climate. This way, your paint job will last and look good.
Best Practices for Cutting In and Edging
To get a perfect finish on your paint job, knowing how to master cutting in techniques is key. This skill is about painting the tough spots like corners and edges where rollers can’t go. Here, we share key precision painting tips for neat, sharp lines.
Start with a high-quality angled brush. It’s perfect for edging while painting, giving you better control at the borders. Dip the brush lightly in paint, ensuring it’s not too full to avoid drips.
Then, try using painter’s tape for more accuracy. Make sure to stick the tape down well to stop paint seeping under. Peel off the tape while the paint is wet for the best lines.
Also, keep your hand steady by resting it against the wall. This helps tons when painting edges and corners. Start a bit away from the edge and move closer slowly for a smooth finish.
Keep these tips in mind, and edging while painting will become easy. This way, you can make your home paint project look like it was done by a pro.
Tips for Achieving a Smooth Finish
To get a smooth paint job, start by checking the surfaces for flaws. Look for cracks or holes. Fix them with filler and sand them smooth. After evening out the surface, clean the area of dirt and grease. A clean workspace leads to a better finish.
Then, pick high-quality masking tape for neat, sharp edges. The right tools, like good brushes and rollers, matter a lot. They help you get the texture and coverage you want.
For smooth painting techniques, use long, even roller strokes to avoid marks. Applying several thin coats is better than one thick one. Let each layer dry well before adding another. This approach helps achieve a perfect finish.
When the paint dries, remove the tape carefully for sharp lines. Check the surface for any missed spots and fix them. Being patient and precise helps get a flawless paint job.
Hiring Professional Painters vs. DIY
Choosing between DIY painting and professional painters is key for top-notch results. Doing it yourself can be rewarding. Yet, knowing the benefits of professional painters helps you decide.
Benefits of Professional Painters
Professional painters offer many advantages for your paint job:
- Quality Results: They have the experience and skills to deliver a perfect finish with the best techniques and materials.
- Efficiency: Pros can finish your painting quickly, much faster than if you did it yourself.
- Safety: They know how to handle difficult or tall spots safely.
- Material Knowledge: Pros use high-quality paints and tools for a lasting and beautiful look.
When to Hire a Pro
There are times when it’s best to hire professionals:
- If your painting needs complex designs or special techniques.
- When the painting job is large, like full buildings or big interior areas.
- If you don’t have the time or resources for a DIY paint project.
- When you need expert advice on the best materials and colors for your space.
In the end, comparing DIY painting with hiring professionals helps you make better choices. You’ll get results that fit your needs perfectly.
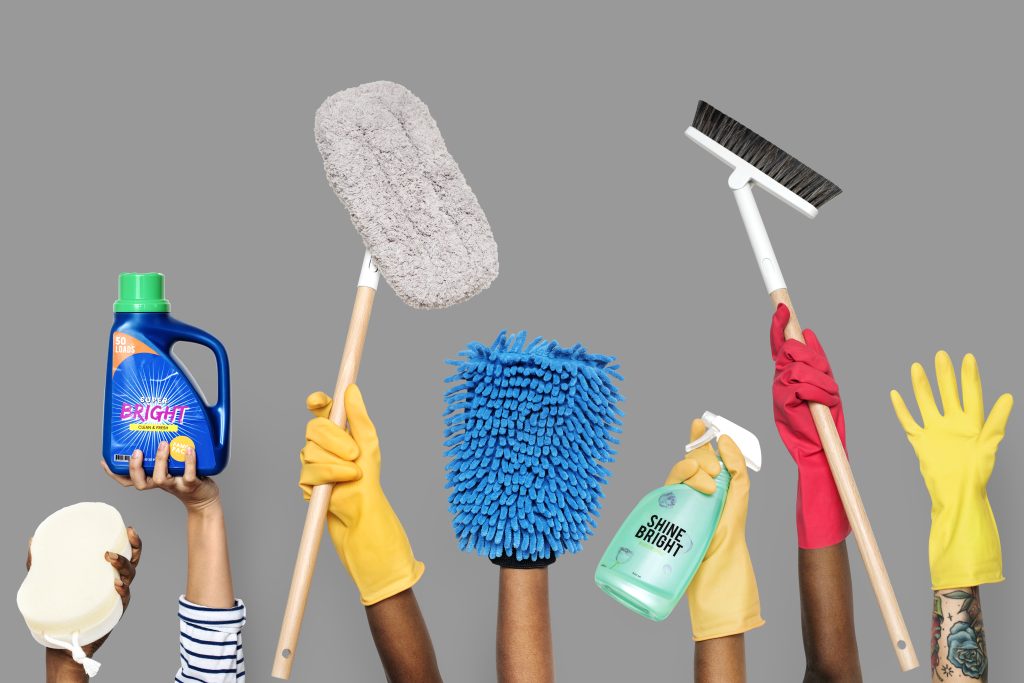
Cleanup and Long-Term Paint Maintenance
When you finish a painting job, cleaning and keeping your paint equipment in good shape is key. This makes sure your tools and paint last longer. Good care and storage can really change how well your next painting project goes.
Cleaning Tools and Brushes
Start by getting rid of extra paint on your brushes and rollers. Use warm, soapy water for water-based paints. Oil-based paints may need paint thinners or mineral spirits for a good clean. Finish with a rinse in clean water and dry them well before putting them away. This keeps your tools in great shape and ready for another round of painting.
Storing Leftover Paint
Storing paint the right way stops it from going bad and keeps it usable longer. Put leftover paint in smaller containers if there’s less than half left. This reduces air contact and keeps the paint good. Make sure the lid is on tight and keep the cans in a place that’s cool and dry. This avoids damage from too much heat or cold and helps your paint stay good for a long time. Putting a label on the paint with its color, the date, and where it was used can help you with touch-ups or future projects.
Conclusion
We are wrapping up our detailed guide. It’s key to remember the critical steps we’ve discussed for a perfect paint finish. Thinking about interior painting shows us how each step matters. This includes preparing surfaces well to picking the best paints and tools. These steps are vital to the end result.
We talked about how important it is to clean, patch, and prime your walls. This creates a strong base. Using the right techniques for brushing and rolling on paint is just as crucial. Also, we’ve seen how lighting and weather can impact how your paint looks. All these ensure your paint job looks good no matter what.
In our final thoughts, we talked about the change a good paint job can make. Whether you do it yourself or get pros, remember these tips: spend time on preparing, choose the best materials, and use the right methods to get the best look. Keep these tips in mind for your next paint project, so you can make your space look amazing and last long.
FAQ
Why is surface preparation important before painting?
Proper preparation makes sure the paint sticks well. It also reduces flaws for a smooth and lasting finish. Steps like cleaning, patching, and sanding are key.
How do I properly clean the walls before painting?
Begin by dusting off the walls. Use a light soapy solution for any oily spots and rinse well. The wall must be dry before painting starts.
What is the best way to patch holes in the wall?
Fill holes using spackle or a filler. Flatten it with a putty knife and let it dry. Sand it for a smooth finish before painting.
Why is sanding necessary?
Sanding smooths patched areas and rough spots for better paint adhesion. A smooth surface helps get a uniform paint coat.
When should I use a primer?
Use primer on new or stained surfaces, or when changing colors drastically. It helps paint stick better and can reduce the need for extra coats.
How do I choose the right type of paint?
Pick based on the area being painted. Moisture-resistant paint works best in wet areas. For busy spots, use durable, washable paint. Use glossy for trim and matte for walls.
What essential tools do I need for painting?
Get quality brushes, rollers, tape, cloths, trays, and a ladder. Good tools help apply the paint smoothly and lead to better results.
Why is using quality paint important?
Quality paints cover better, stick better, and last longer. They often need fewer coats, giving a better-looking finish.
What are the key steps in a step-by-step interior painting project?
Start with detailed prep like cleaning, patching, and sanding. If needed, apply primer, then use your chosen paint. Apply it carefully around edges and keep a wet edge for uniformity. Finish with clean-up and touch-ups.
What are some expert tips for brush application?
Dip the brush about a third of the way into the paint. Apply with even, flowing strokes. Don’t overload the brush to avoid drips.
How should I use a roller properly?
Put a good amount of paint on the roller. Apply it in a ‘W’ pattern for even coverage. Don’t press too hard to avoid streaks.
How can I avoid common painting mistakes?
Don’t work the paint too much and keep a wet edge to stop streaks. Follow drying time guidelines and use good lights to spot misses.
How does lighting affect a painting project?
Natural light shows up uneven spots and helps get the color right. In dark places, bright, white lights mimic daylight for consistent coverage.
What are some tips for painting in humid weather?
Use paint that’s okay with moisture and make sure the room is well-aired. Consider using a dehumidifier in very damp conditions.
How should I paint in cold weather?
Pick paint made for cooler conditions. Don’t paint on wet days. Keep the room warm for the paint to dry and stick well.
What are the best practices for cutting in and edging?
For straight lines, use painter’s tape. A good angled brush gives clean edges near ceilings and baseboards. Take your time for neat results.
How can I achieve a smooth paint finish?
Several thin coats work better than one thick coat. Sand in between for smoothness. Make sure there’s no dust before you paint again.
What are the benefits of hiring professional painters?
Pros bring quality, speed, and access to the best materials and methods. They’re great for big or tricky painting projects.
When should I consider hiring a professional painter?
If the project is big or difficult, or if you don’t have the skill, time, or tools, think about hiring a pro.
How should I clean my painting tools and brushes?
Wash brushes and rollers right after use with the right cleaner. Use soap and water for water-based paints, and mineral spirits for oil-based ones. This keeps your tools in good shape.
What is the best way to store leftover paint?
Keep leftover paint cool and dry, out of the sun. Seal it well and label it with the date and room for later use.


